
Last updated November 22, 2026
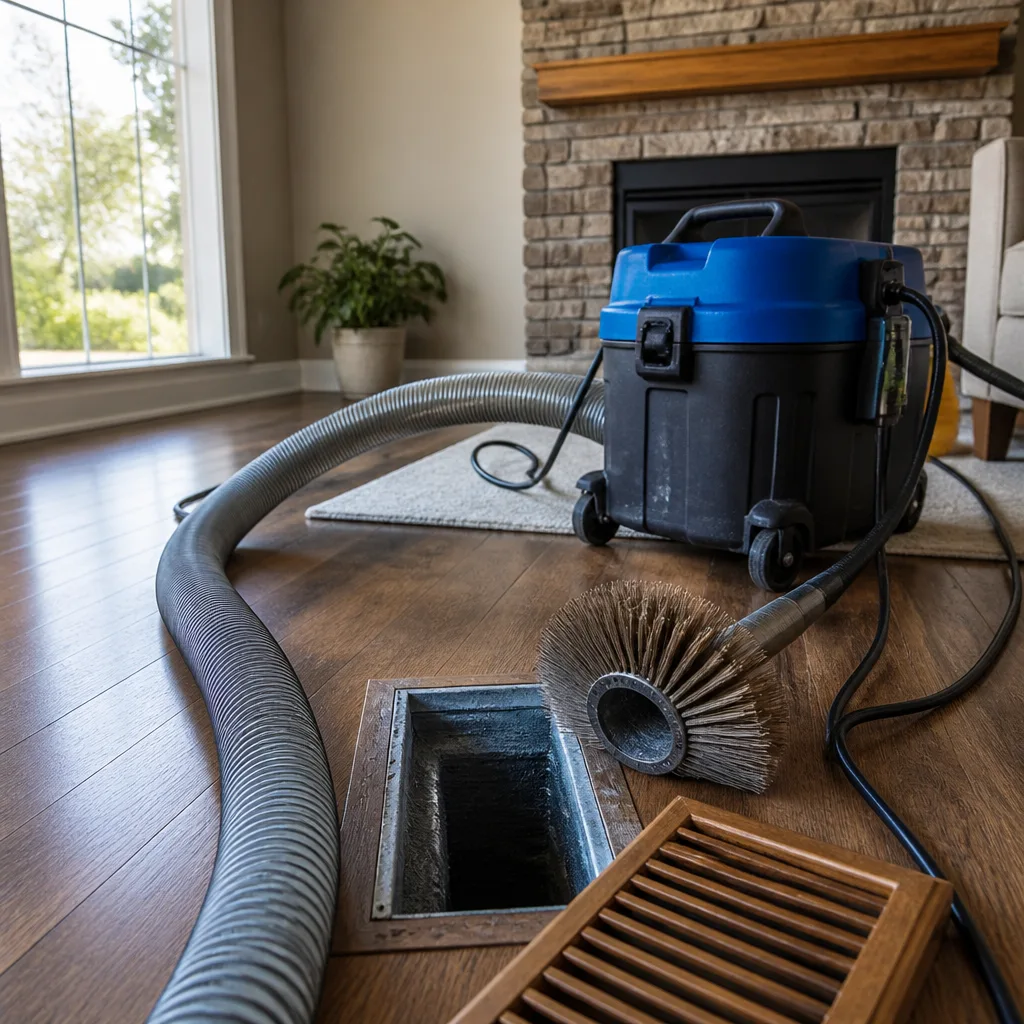 Whole-home duct cleaning
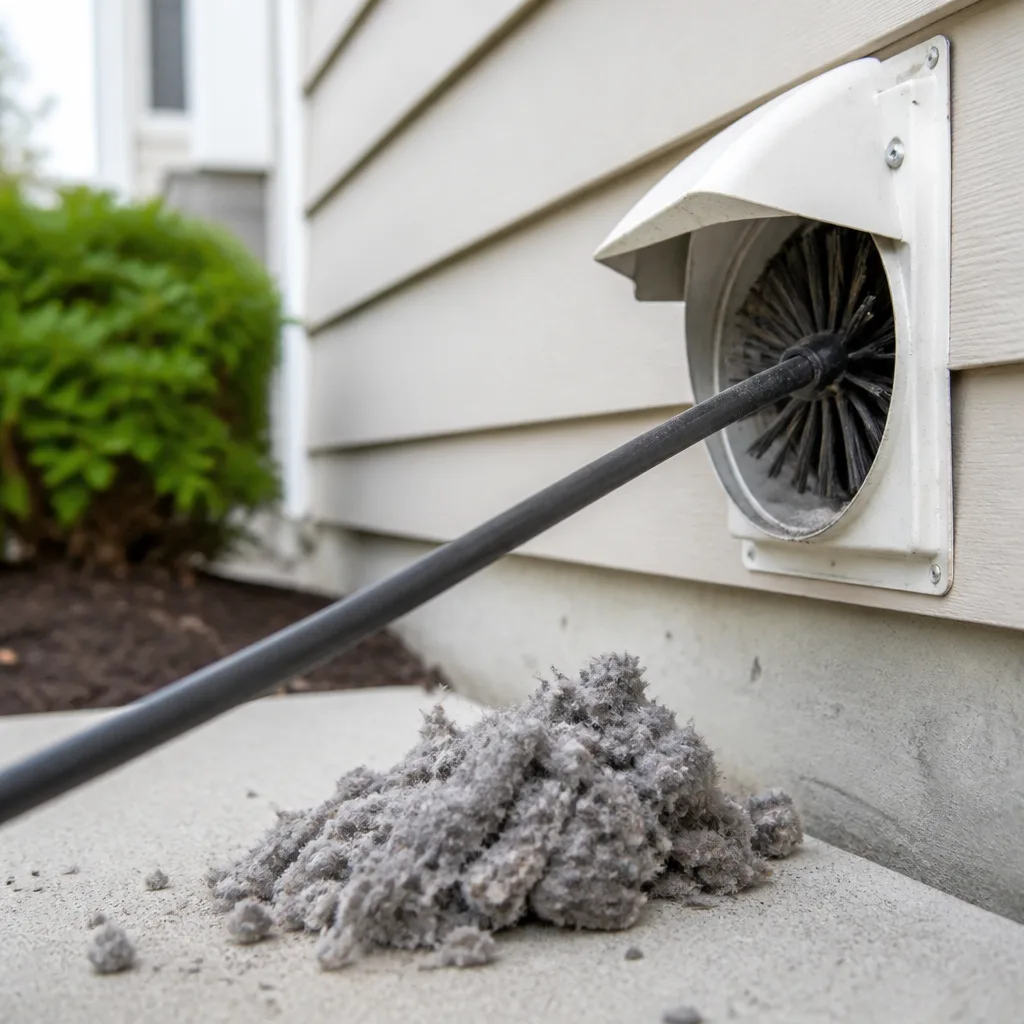 Dryer vent cleaning
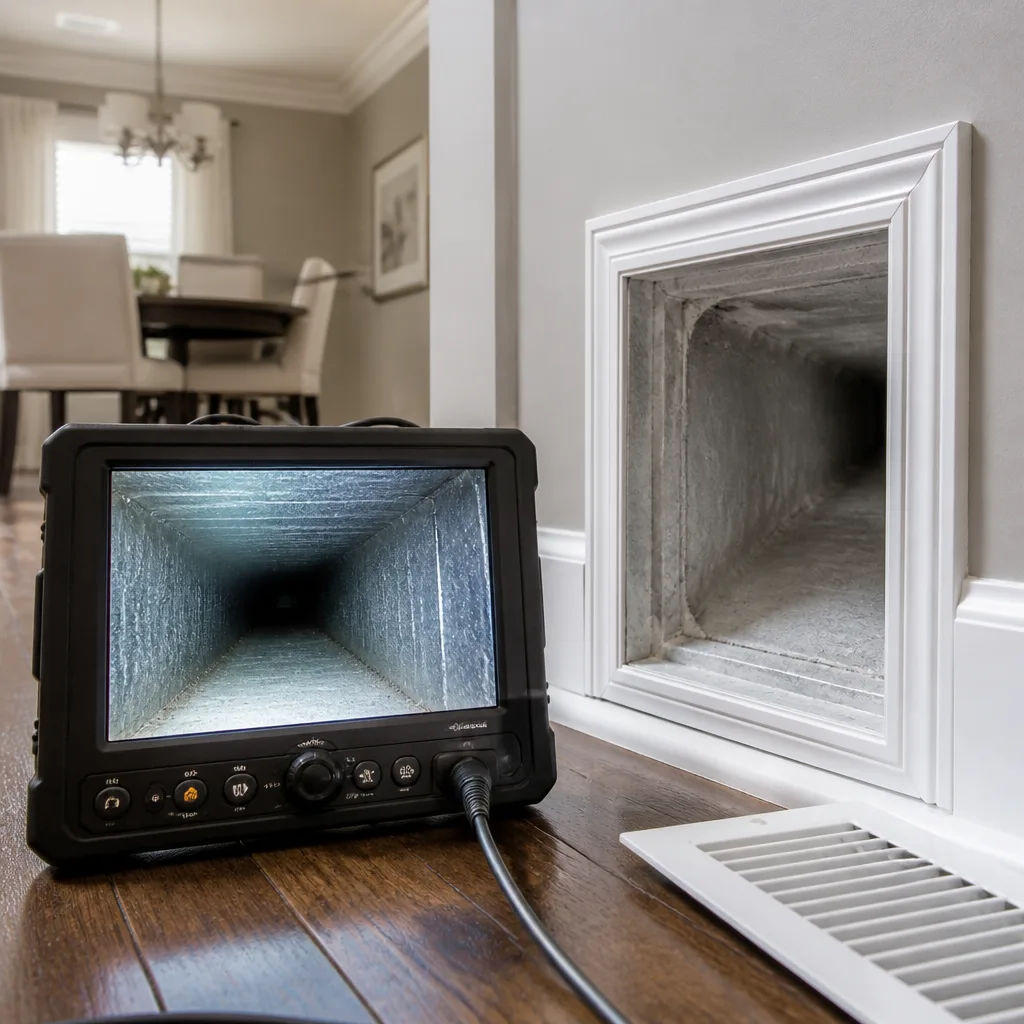 Camera inspection
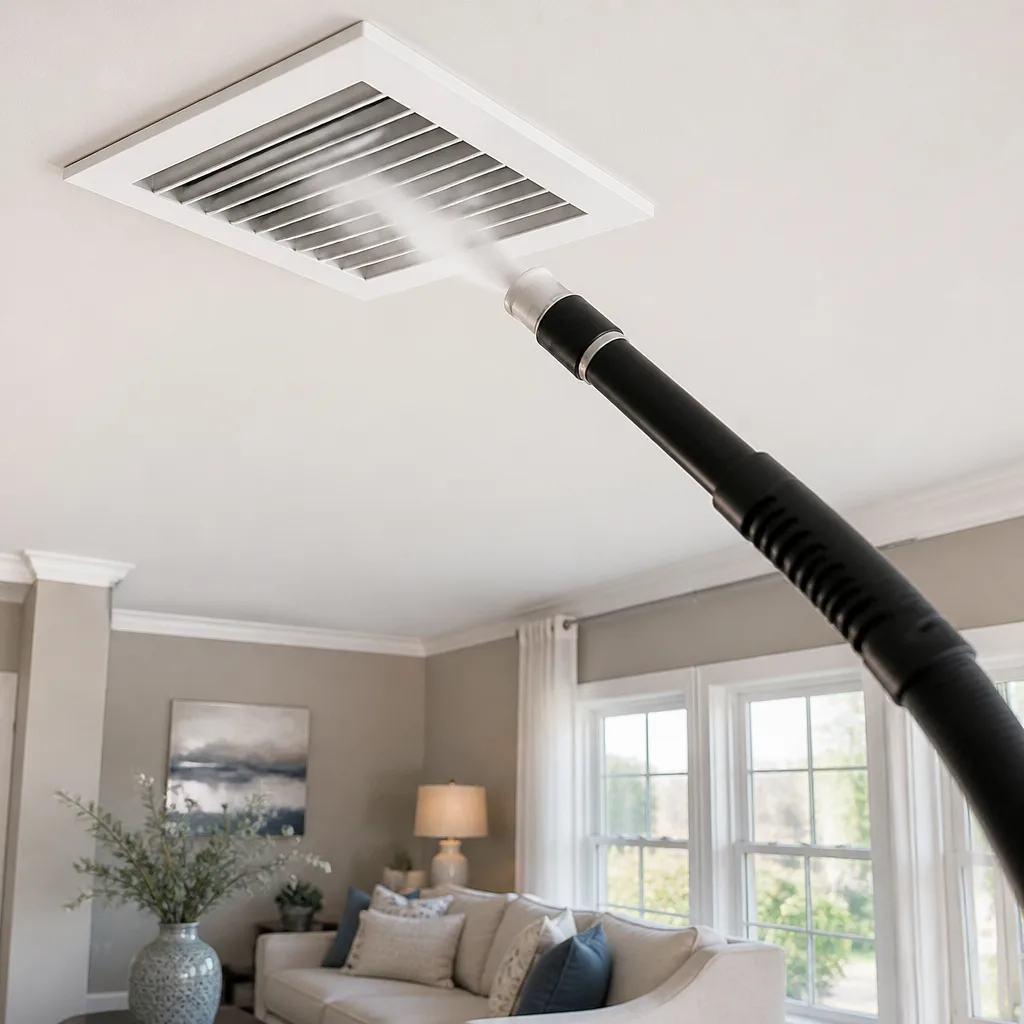 Sanitizing & deodorizing
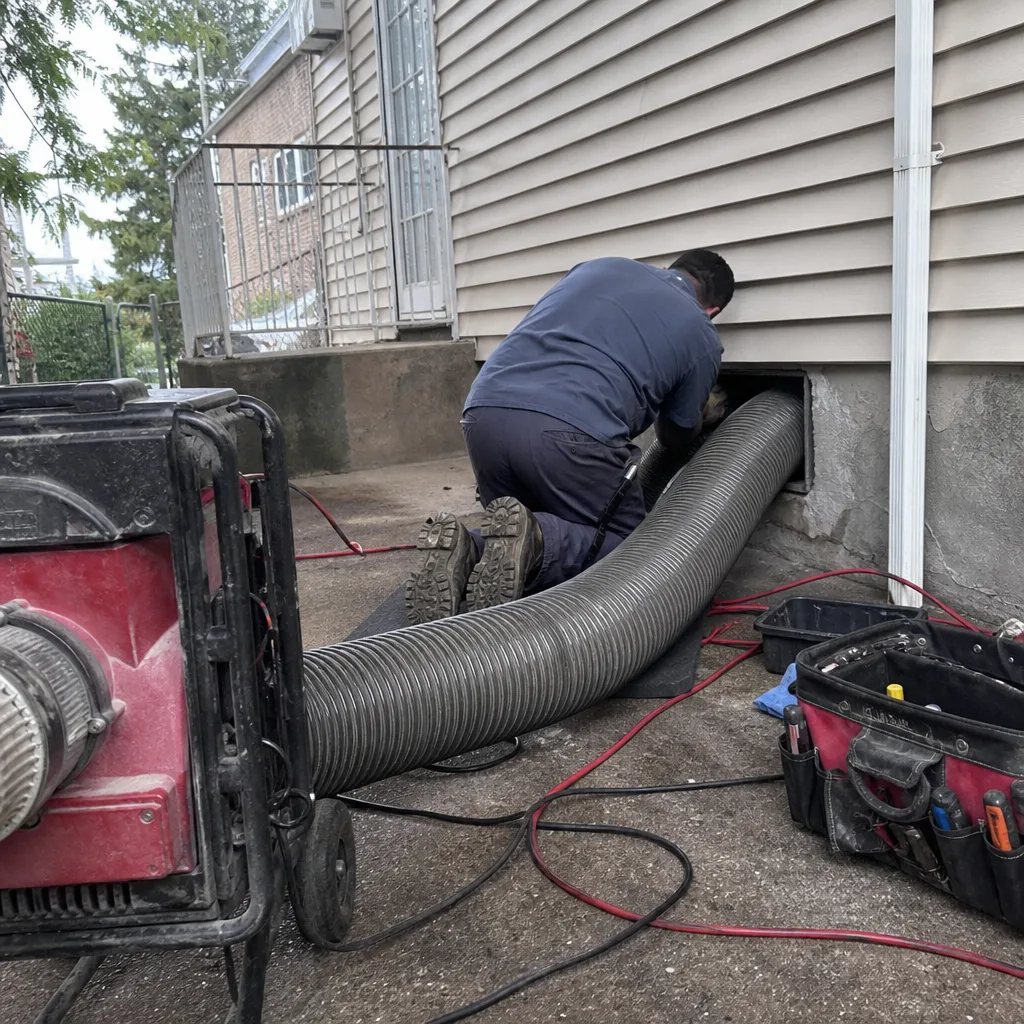
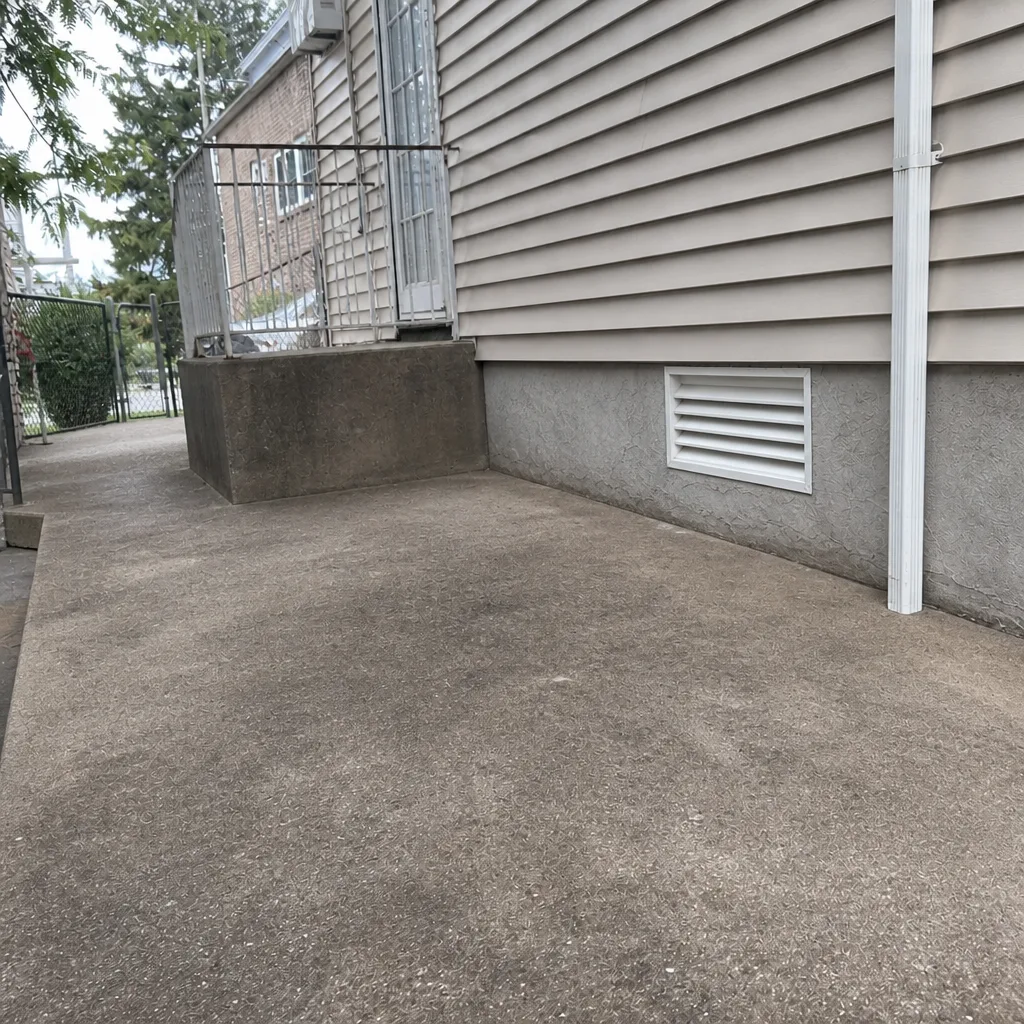
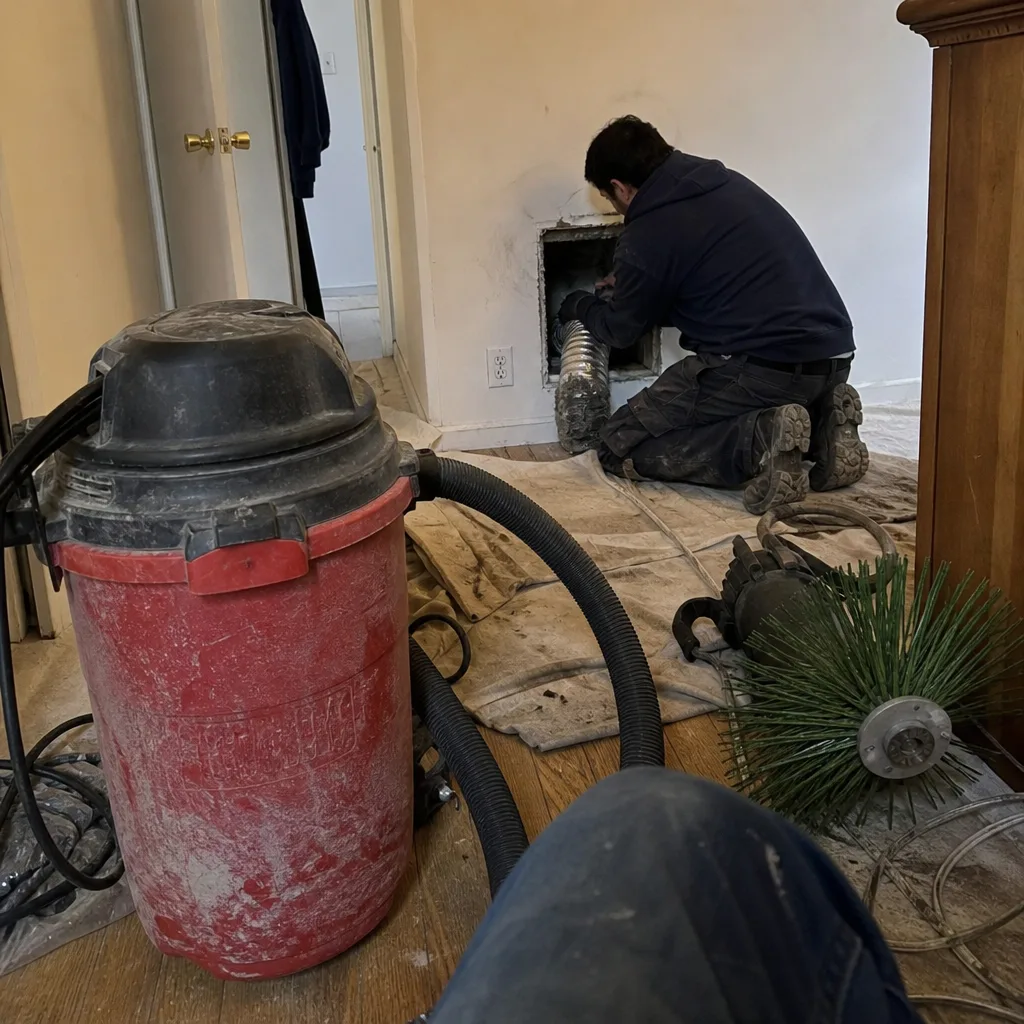
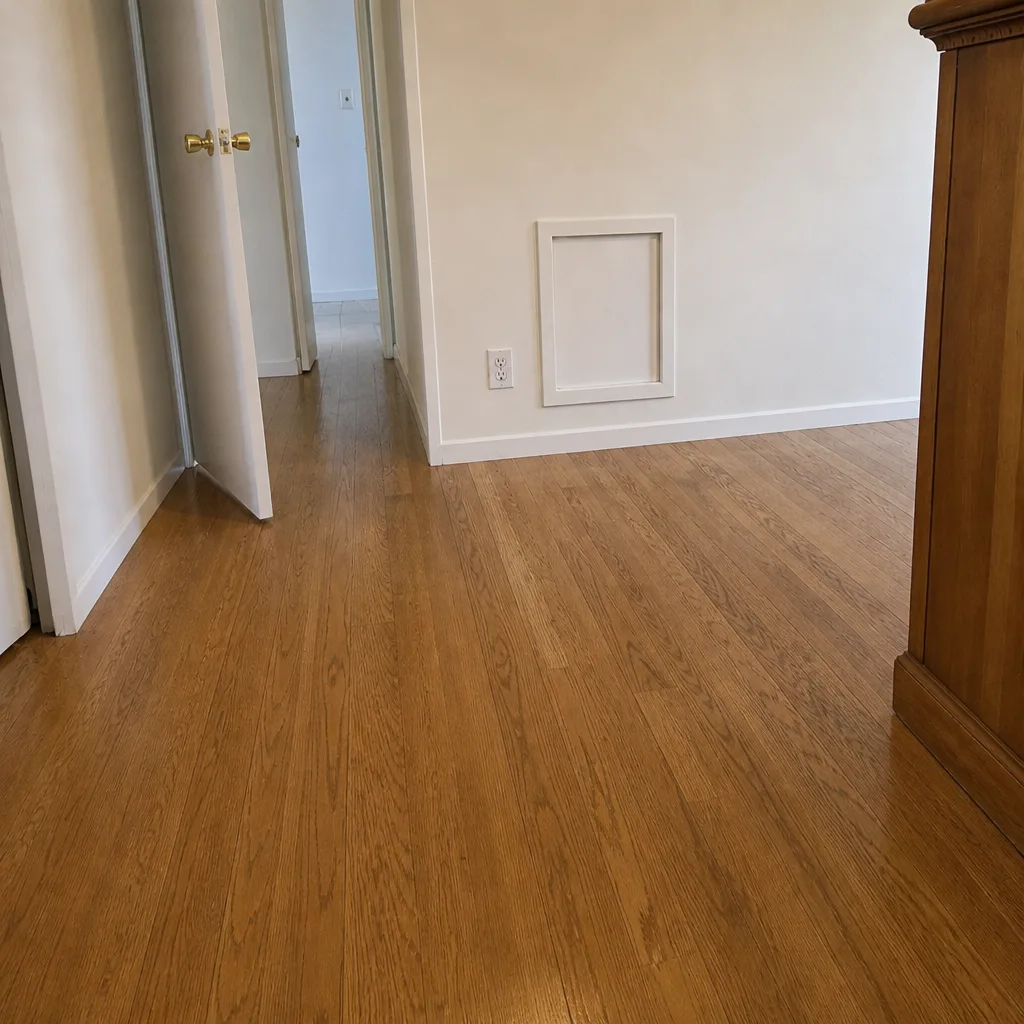
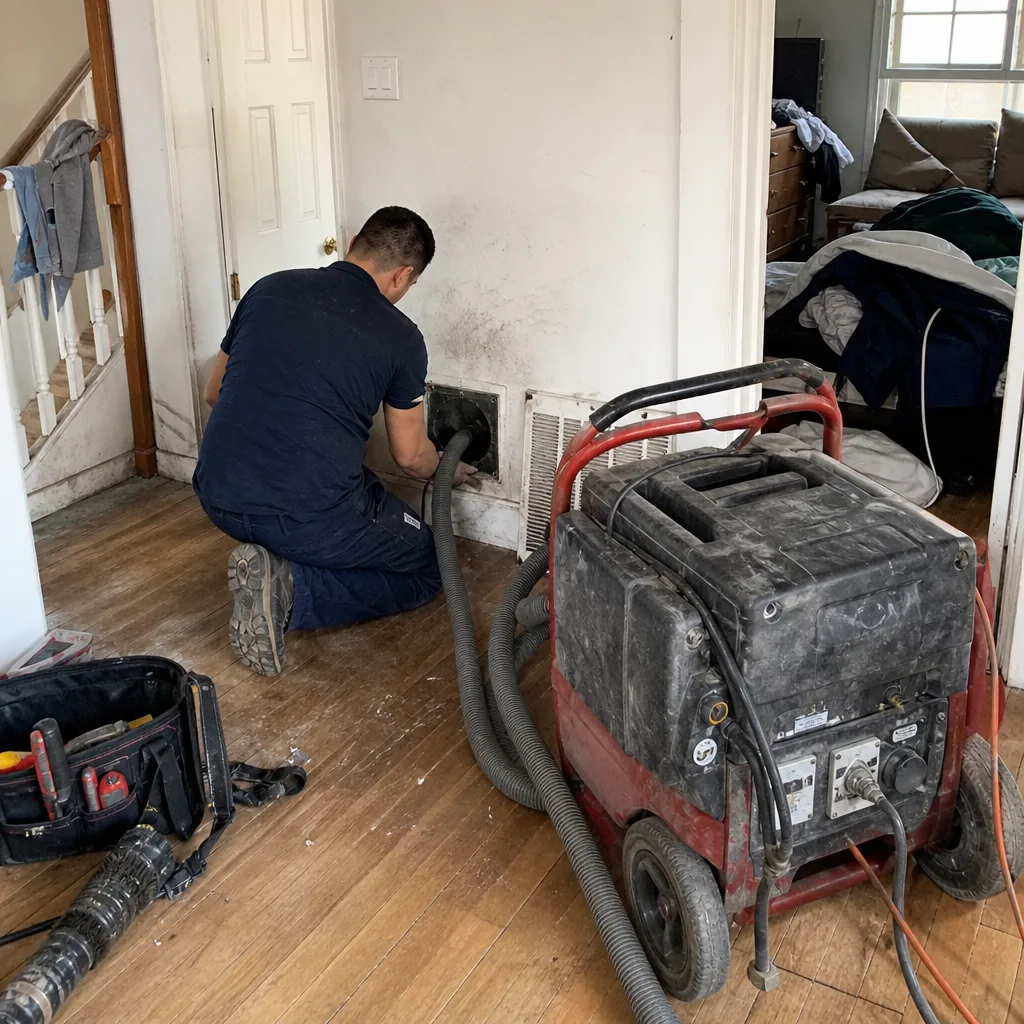
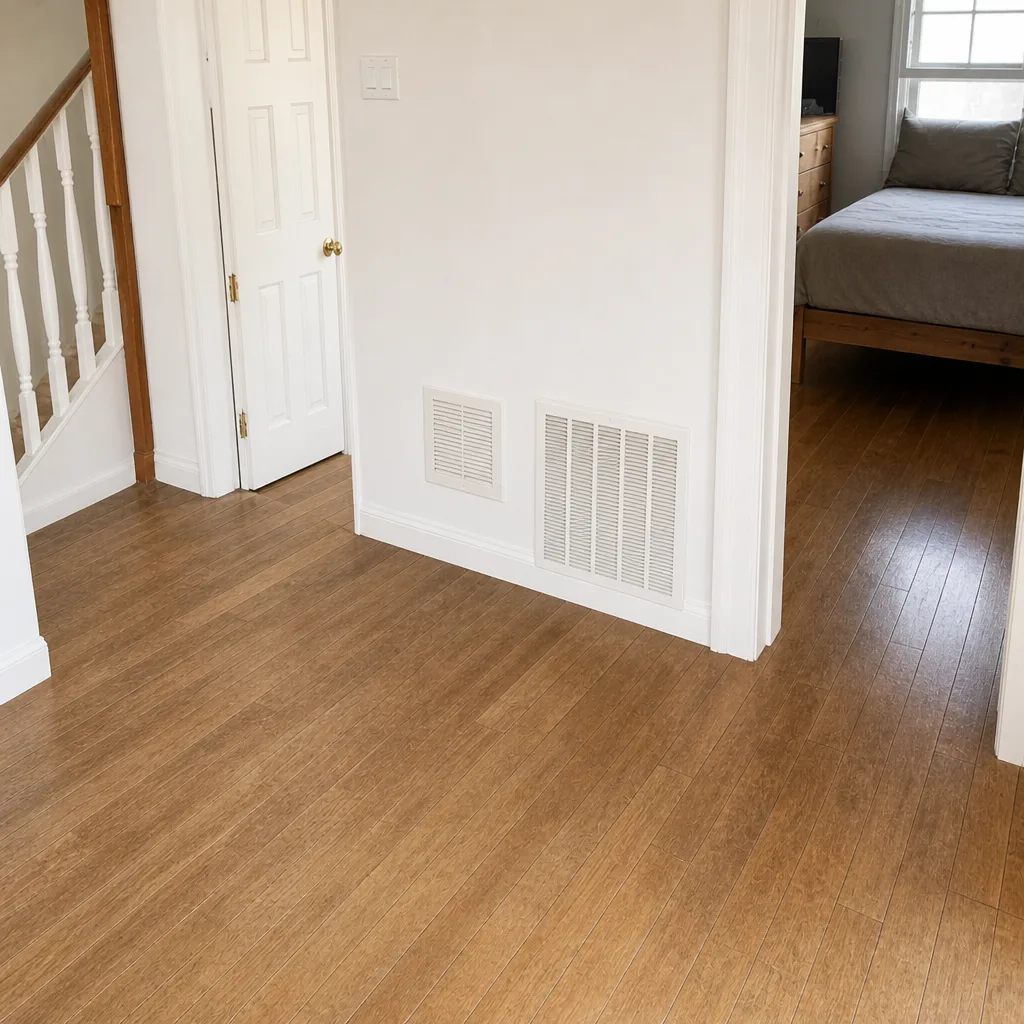
Whole-system duct and dryer vent check with before-and-after photos - you see exactly what came out of your vents
That "$99 whole-house special" is a bait ad - the real number appears once they are in your hallway, or the "clean" is a shop-vac at the register. We photograph the inside of your ducts before and after instead.
DIY vs Professional Air Duct Cleaning: The Soundview Homeowner’s Decision Guide
Most homeowners assume duct cleaning is a skill problem. That you’d do it yourself if you only knew how, and the professional is just a stronger version of you with a bigger vacuum. The real difference is airflow direction, not technique. A consumer-grade dryer vent brush or a shop vacuum running inside a duct creates positive pressure – it pushes air away from the machine, deeper into the system or out into the room you’re standing in. Professional equipment does the opposite. This guide explains exactly what negative air pressure does mechanically, which two DIY tasks genuinely help in a Soundview apartment or house, and when a well-meant attempt makes the eventual professional job harder and more expensive.
Styles & brands we work with
- Whole-home duct cleaning
- Dryer vent cleaning
- Camera inspection
- Sanitizing & deodorizing
Quick Answer
DIY air duct cleaning only works for surface tasks you can reach safely: cleaning register grilles and vacuuming the filter housing. Anything inside the ductwork itself requires negative air pressure containment, which no consumer vacuum, brush kit, or rental unit can produce – attempting it presses dust and debris into the system or into your living space. For the duct interiors, the plenum, and the HVAC cabinet, professional cleaning with commercial equipment is the only method that removes contamination instead of redistributing it.
Table of Contents
- Why Airflow Direction Decides Everything
- What Negative Air Pressure Actually Does
- The Two DIY Tasks That Genuinely Help
- When a DIY Attempt Makes Professional Cleaning Harder
- Soundview Multi-Unit Buildings: Shared Duct Risk
- The Honest Cost Comparison
- How to Judge a Professional Duct Cleaning Job
- Common Mistakes to Avoid
- When to Call a Professional
- Frequently Asked Questions
Why Airflow Direction Decides Everything
A vacuum cleaner is built to pull air toward its inlet. That works beautifully on a carpet because the dust is sitting on a flat surface. Inside a duct, the dust, lint, dander, and debris are not sitting on a surface at all – they are attached to the walls, sitting in the seams, and piled at the corners. When you disturb that material, it becomes airborne. The question is which way the air moves.
Here’s the physical problem in plain terms:
- A household or shop vacuum draws at roughly residential airflow levels and discharges into the room it’s standing in or drops what it can into a small bag. It creates no measurable pressure difference across the ductwork.
- A brush or dryer vent kit inserted into a duct pushes air ahead of it as it spins or strokes – that’s positive pressure, the opposite of what you want.
- Once the debris is airborne, it flows toward the lowest-pressure path it can find. With no containment, that path is usually the nearest register and the room beyond it.
So the DIY attempt doesn’t just fail to remove debris. It actively mobilizes material that was previously stuck to the duct walls and gives it a route into the living space. That’s why we hear homeowners in Soundview describe a dusty smell after a DIY attempt; the fine particles were released and dispersed into the rooms.
The professional approach reverses this completely. Proper air duct cleaning starts by putting the entire duct system under negative pressure before any agitation begins, so that anything knocked loose is captured at the source rather than pushed into the rooms.
What Negative Air Pressure Actually Does
Negative air pressure is not a marketing term. It’s a measurable difference between the pressure inside the duct system and the pressure in the room. A commercial duct-cleaning machine pulls air through the system and exhausts it outside or through a high-efficiency filter, dropping the interior pressure below the room pressure. Because air always moves from higher pressure to lower, every register and opening now draws air inward. Debris that gets dislodged moves toward the machine, not toward your bedroom.
That’s the core mechanic most consumer equipment can’t replicate, because it requires three things at once:
- A high-volume extraction unit running well above household vacuum airflow, with enough suction to hold a sealed system under sustained negative pressure while the tech is agitating inside it.
- A sealed system – each register capped or worked one at a time with the rest of the system closed off, so air can’t simply leak in and equalize the pressure.
- Agitation equipment inside the duct – rotary brushes, compressed-air whips, or air-driven tools that loosen stuck debris while the machine is pulling it away.
The professional equipment we use for this is purpose-built. Our technicians run Rotobrush and Nikro systems – the same brands used in commercial and industrial duct cleaning – because they’re engineered around airtight containment, not just suction. We pair that with Abatement Technologies air-purification equipment when a job calls for sanitizing, since that’s remediation-grade capability rather than surface cleaning. No shop vacuum, rental machine, or consumer brush kit does this. The physics of a sealed system under sustained negative pressure simply can’t be achieved with equipment that has no way to exhaust outside the room.
The Two DIY Tasks That Genuinely Help
We’re not going to tell you to stay away from your own registers. There are two small jobs most Soundview homeowners can and should do themselves, because they help the system and cost nothing. Just do them in the right order with the right tools.
Task 1: Cleaning the register grilles
The grille is the slatted cover over each vent – the part you see in the wall or floor. Dust accumulates on its face and between the slats. Removing the grille and cleaning it in a sink or outdoors is a genuine, safe DIY task. The correct method:
- Turn the HVAC system off at the thermostat first, so you don’t pull dust back through while you work.
- Remove the grille using the two or four screws holding it – most are hand-tightened and lift straight out.
- Wash it with warm water and a mild detergent, then dry it completely before putting it back.
- Vacuum the faces of the grille with a soft brush attachment while it’s off, ideally outside, and wipe the frame and the lip of the opening.
That’s it. Grille cleaning removes the visible dust layer, which reduces the amount of material that feeds into the system going forward. It does not clean the duct behind the grille – it just stops more dust from entering.
Task 2: Vacuuming the filter housing
The filter housing (also called the return-air cabinet or filter slot) is the chamber around your HVAC air filter. Dust settles in the bottom of that housing, and if you let it build up, it gets pulled into the system each time the fan runs. Vacuuming it out is safe and worthwhile. The correct method:
- Turn the system off at the thermostat and pull the filter out.
- Use a vacuum with a soft brush or crevice tool to remove dust from the bottom of the housing and the frame edges – keep the nozzle pointing toward the vacuum, not toward the plenum opening.
- Wipe the housing surfaces with a damp cloth to catch fine particles the vacuum misses.
- Install a fresh filter of the correct size and type before restarting.
What not to do: never stick a vacuum nozzle or a brush up into the plenum opening above the filter, and never use compressed air in the housing. That’s a fast way to push debris into the supply side of the system, where only professional equipment can reach it.
When a DIY Attempt Makes Professional Cleaning Harder
Some DIY damage is reversible with a professional cleaning. Some of it isn’t damage the cleaning fixes at all – it’s damage the cleaning has to work around. In our experience with Soundview homes and apartments, the three most common DIY outcomes are these.
- Compressed air used without containment. The most damaging mistake. Blasting compressed air into a duct with no negative pressure behind it drives debris deep into the run, into the plenum, and into the HVAC cabinet. The cleaning that would have been straightforward now involves opening the air handler and hand-cleaning areas the machine couldn’t reach. That’s a longer, more expensive job – and the debris may already have been recirculated through the house.
- Brush damage to flexible duct liner. Many Soundview buildings have flex duct in the supply runs, and its inner liner is a thin plastic film. A stiff brush or a spinning vent tool on high speed tears that film. Torn liner becomes a permanent trap for dust and a source of vibration noise, and it has to be replaced rather than cleaned – a repair, not a cleaning.
- Disturbed insulation in older systems. Some older ductwork has exposed fibrous insulation on the interior or around joints. Agitating it without containment releases fibers into the airflow and can compress or tear the insulation, which makes the duct run noisier and less efficient. That requires HVAC cleaning well beyond the surface, plus repair work to restore the lining.
The pattern here matters. DIY never improves the duct; the best case is that it does nothing. The worst case is that it moves contaminants into new places and creates repair work that didn’t exist before. When that happens, we don’t just clean – we assess whether the ductwork needs repair and sealing, which is one of our five core services and often the difference between a cleaning that holds and one that keeps coming back.
Soundview Multi-Unit Buildings: Shared Duct Risk
Plenty of Soundview housing is multi-unit: apartment buildings, two- and three-family houses, and mixed-use structures above ground-floor businesses. In these buildings, the ducting isn’t always completely isolated per unit. Supply and return runs sometimes share chases, and gaps at joints, at fire-blocking, or around older connections allow air to move between adjacent apartments even when the system is nominally separate.
That matters for DIY because of what positive pressure does when containment is absent. If a homeowner in one unit runs a brush or a shop vacuum in a duct that has a gap into a shared chase, the airborne debris can migrate into a neighboring apartment’s ductwork. That neighbor didn’t do anything – but they now have the dust you dislodged in their living room. In a two-family house where a daughter’s family lives upstairs, that’s a real risk, not a theoretical one.
This is also why we treat project-based building work differently. In a multi-unit Soundview building, cleaning is planned as a building-wide air path problem, not per unit. Registers are sealed and worked in sequence, and the extraction machine is set up so that shared shafts don’t end up as a shortcut for debris from the unit being cleaned to travel into someone else’s space. If you’re a Soundview property manager scheduling duct work, coordinate the whole building – not one apartment at a time.
The same principle applies to dryer vent cleaning, which many multi-unit buildings need on a shared stack. Lint buildup in a shared dryer vent is a fire fuel problem, and the airflow direction question is identical: it has to be pulled out, not pushed around.
The Honest Cost Comparison
The DIY-versus-professional cost comparison only makes sense if you account for what each method actually cleans. Here’s the honest math, stated as ranges rather than a pitch.
| Item | DIY approach | Professional approach |
|---|---|---|
| What gets addressed | Register grilles and filter housing only – roughly 15% of the system by visible surface area | Duct interiors, plenum, air handler, and HVAC cabinet – the full pathway |
| Equipment cost or rental | Vacuum, brush kit, and possibly a vent-cleaning rental unit; consumables like filters, cleaning supplies | Flat per-system price quoted before work begins, set by a written estimate |
| Time | Several hours for the two safe tasks; a full day or more if you attempt the duct interiors | Typically a single scheduled visit for a residential system |
| Risk of making things worse | High if any duct interior work is attempted (liner damage, insulation disturbance, debris migration) | Low; the technician works with containment and can stop and advise if the ductwork is compromised |
| Verification | None – you can’t see inside the ducts | Before-and-after photos of your own ducts, so you can see what changed |
The bottom line on cost: DIY equipment is cheap, but it only covers surface tasks. A professional cleaning is priced per system and quoted in writing before any work starts, so there’s no surprise invoice. We don’t charge per vent, and we don’t quote teaser-dollar coupon figures – the estimate is the estimate.
How to Judge a Professional Duct Cleaning Job
You’ve decided to hire. Now the real question is whether the crew you hire actually cleans, or just makes noise for an hour. From a homeowner’s side, here’s what to look for – and the standard we hold ourselves to. These are the signals that separate a real cleaning from a show:
- They seal registers and run negative pressure first. Before they put a brush or tool into any duct, the extraction unit should be connected and the system put under negative pressure. If they start agitating ducts without containment, they’re redistributing, not removing.
- They name and service their equipment. Ask what equipment they run. Commercial-grade systems like Rotobrush and Nikro exist for this specific job; a household vacuum in a uniform is a warning sign.
- They inspect before they clean. A technician who looks inside the ducts, checks the plenum, and looks at the HVAC cabinet before quoting tells you the job is being treated as a system, not a one-size-fits-all clean.
- They identify problems beyond dirt. Damaged liner, torn flex duct, disconnected joints, or unsealed seams are common in Soundview buildings. A real cleaner tells you about them and offers repair and sealing; a quick cleaner only vacuums.
- They show you before-and-after photos. If they can’t show you what the duct looked like before and after, you have no way to know what was done. We photograph your own ducts both ways.
- They offer sanitizing as a separate, optional step, not an upsell trap. Sanitizing helps when there’s musty odor, mildew, or a known contamination source. If there’s no reason for it, they should tell you that.
If you want to check the basics of what a proper job looks like, the air duct cleaning Soundview service overview covers the full pathway we clean, from the registers through the plenum and the air handler. And when a duct system has been disturbed by a previous DIY attempt, the repair-and-seal side of our work is what makes the cleaning stick – a clean duct with a torn liner doesn’t hold, and a sealed one does.
Common Mistakes to Avoid
- Using compressed air without containment. It’s the single most common – and most expensive – DIY mistake. You’ll drive debris into the air handler and the plenum, and the eventual cleaning will cost more because the technician has to open and hand-clean areas the machine can’t reach.
- Running a stiff brush in flexible duct. Flex duct liner is thin and tears easily. If a run in your Soundview apartment feels like plastic film inside rather than metal, don’t put any brush in it – it will need replacing, not cleaning, and replacing ductwork costs far more than cleaning it.
- Vacuuming up into the plenum. The plenum is the large chamber where the ductwork meets the air handler. It’s a direct path into the HVAC cabinet, and any vacuum nozzle or brush poked into it pushes dust into the cabinet. Filter housing cleaning should stop at the filter slot, never above it.
- Doing anything in shared ducts in a multi-unit building. Positive-pressure DIY in one unit can push debris into a neighboring apartment’s ducts. If your building has shared chases or a shared system, leave duct interior work to a professional.
- Skipping the filter housing on the assumption it’s clean. Dust settles in the bottom of the return-air cabinet even when the filter looks fine on the face. Vacuum it out every time you change the filter, and you’ll cut the amount of material the system sees.
- Assuming a dryer vent brush works in the wall stack. The same airflow-direction problem applies. A brush pushed from the dryer side can pack lint into the wall, and a hidden buildup is a fire hazard. This is one to let a professional handle, especially in a multi-unit Soundview building with a shared stack.
- Hiring on price alone. The cheapest quote is often the one that agitates without containment, moves debris around, and leaves no before-and-after photos. A flat per-system price with photos is a fairer comparison than a dollar figure.
When to Call a Professional
Call a professional if any of these sound like your Soundview home or building:
- There’s a musty or dusty smell when the system runs.
- Family members are noticing allergy-type symptoms indoors that ease when they leave – and the source hasn’t been identified.
- Airflow has dropped noticeably at specific registers.
- The ducts haven’t been cleaned since before you moved in, or the previous owner never could say when they were done last.
- The building is older and you suspect torn or disconnected duct runs.
- The dryer vent hasn’t been cleaned and takes longer than it used to.
- You already attempted a DIY duct cleaning and it made the smell or airflow worse.
Air Duct Cleaning Soundview offers free estimates in Soundview. We answer 24/7. Fast dispatch from 7am to 7pm, Sunday through Friday. Call (844) 630-1582 and we’ll assess the full system – ducts, HVAC, dryer vent, and air quality – and quote per system, in writing, before any work begins.
Frequently Asked Questions
For the registers and filter housing, DIY cleaning is worth it because it’s safe and free. For the duct interiors and plenum, no – DIY equipment can’t create negative pressure, so any attempt to clean inside the ducts pushes debris into the system or into your living space. The two safe tasks cover roughly 15% of the system by surface area; the other 85% needs professional equipment.
Air duct cleaning in Soundview is priced per system, not per vent, and the exact price is set by a written estimate after the system is assessed. We quote the full system before any work starts and don’t use teaser pricing that grows once the technician is on site. Call (844) 630-1582 for an exact quote – estimates are free.
Cheap quotes usually clean less: they agitate without containment, skip the plenum and air handler, and have no before-and-after documentation. The lower figure often reflects a smaller job, not a better price. Ask any cleaner what equipment they use, whether they seal registers and run negative pressure, and whether they’ll photograph your ducts before and after. If the answer to any of those is no, the price difference is the point.
Insist on before-and-after photos of your own ducts. A professional cleaner can show you what the duct looked like when work began and what it looks like when finished, and can point out any damage found along the way. That’s the clearest proof – a receipt alone doesn’t show what happened inside a sealed system. We provide before-and-after photos as standard practice.
There’s no fixed schedule that fits everyone. A well-maintained home in a low-dust household may need it only every few years; a home with pets, recent renovation, or anyone with allergies may benefit sooner. In multi-unit Soundview buildings, cleaning is best planned at the building level. If you can’t remember the last cleaning, or if airflow or smell has changed, that’s reason enough to have it assessed.
Yes, easily. Flex duct has a thin plastic inner liner that tears when a stiff brush is run through it, and a torn liner traps dust and needs replacement rather than cleaning. If your ductwork is flexible and you don’t know what’s inside it, don’t put a brush in it – have it inspected. In older Soundview buildings, exposed insulation in ducts is another common DIY-related problem.
The Bottom Line
DIY air duct cleaning isn’t a skill question. Register grille cleaning and filter housing vacuuming are safe, free, and worth doing. Anything inside the ducts requires negative air pressure containment, and that capability isn’t present in any consumer equipment available. Compressed air without containment, brushes in flex duct, and shared-duct work in multi-unit buildings are the mistakes that make professional cleaning harder and more expensive. The two tasks you can do yourself cover roughly 15% of the system; the other 85% needs a pro with commercial-grade extraction. When you’re ready to have the full system assessed and quoted per job, we’re here.
Call (844) 630-1582 for a free estimate. We answer 24/7. Fast dispatch from 7am to 7pm, Sunday through Friday. One flat price per system, agreed before work starts, with before-and-after photos of your own ducts.
Written by the team at Air Duct Cleaning Soundview.
See the difference
 Before
 After
 Before
 After
 Before
 After